I’ve seen other people make natural plant supports from clippings. But not being a very handy person, I hadn’t thought of actually trying it myself.
However, I can now reveal – it is really easy. Even if you’re someone who can barely change a light bulb, then you can make natural plant supports out of birch, hazel or willow twigs.
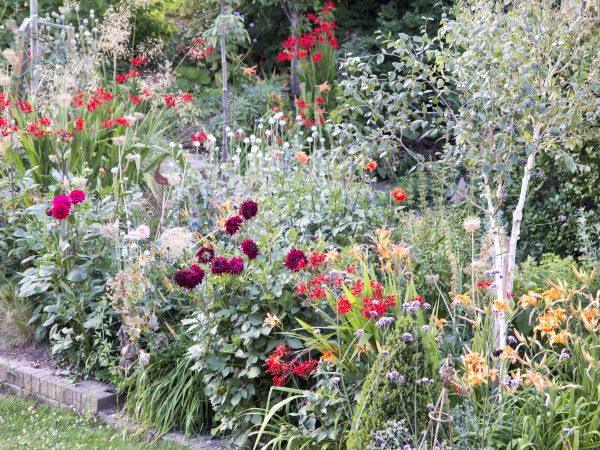
The border in summer – I have a selection of metal supports, but it does look cluttered until all the plants are in bloom. Natural plant supports seem to ‘disappear’ more.
We recently had our silver birch tree pruned, so we had lots of wood clippings. And even if you don’t have a birch tree, there are lots of silver birch in most parts of Britain. They shed their twiggy branches regularly, so keep an eye out.
Cutting the clippings
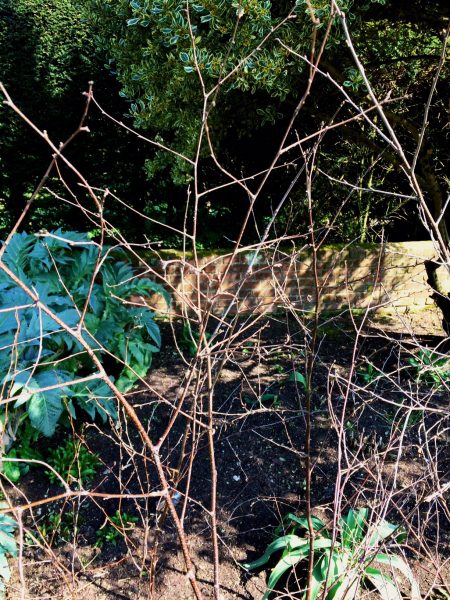
I cut most of the clippings to approximately the length of a garden fork. Choose – or cut – small branches that have at least 6″-9″ of fairly firm wood that you can jam into the soil.
It’s not very easy to see twigs in gardens – which is why twig plant supports are so great. But if you peer at this picture, you can just see what I mean by 6″-9″ of wood, and then the bendy, twiggy bits…
The rest of the birch cutting needs to be bendy and flexible.
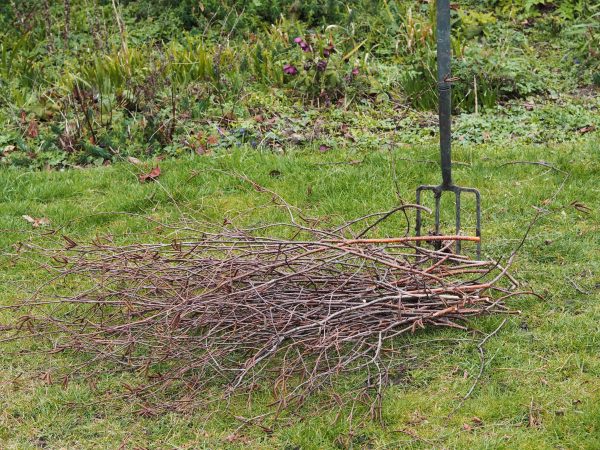
I cut a neat pile of silver birch clippings so I could make plant supports. When my back was turned, Mr Middlesize took them away to burn them. I got them back just in time…sense of humour failure all round.
Next steps…
Most gardeners make their plant supports in late April or early May, when the perennials have begun to spring out of the ground. However, I know where my dahlias are because I protect them over winter with a pile of mulch, marked with a stick.
(Read this to find out more about not digging up dahlias for winter.)
Jam the sticks around the plant in a circle, wedging them firmly into the ground. Then bend some of the twigs over the top of the plant, weaving them together.
The starting position – around 6 silver birch clippings wedged into the soil in a circle around the plant.
Then gently twist, poke and ease the twiggy ends around each other, fixing each branch by weaving it into the next one (or the opposite one when you’re going over the top).

Wind, bend, ease, tease…until all the tendrils are wrapped around each other, locking it all into place.
Carry on until you have a birch twig cage over where your plant will be.
I added some extra twigs lower down as my first plant support cage looked a bit high. Plant supports should be about three quarters of the eventual height of the plant.
It’s quick, easy and free…
What more can I say? Except that you can see more about how it’s done in this video:
These were literally the first natural plant supports I’d ever made. They’re not perfect, but they’ll do the job of supporting the plants, and I’ll get better at it.
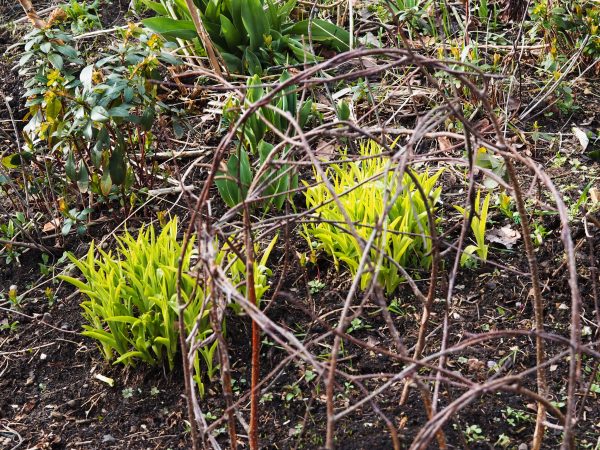
My first ever home-made natural plant support – and it only took about 20 minutes to do.
I’ve always envied the well supported borders of professional gardens. Now I’m cautiously hopeful that there will be fewer flattened blooms in the Middlesized Garden next summer.
I’ll report back, so do subscribe (enter your email address in the box top right). We publish every Sunday morning.
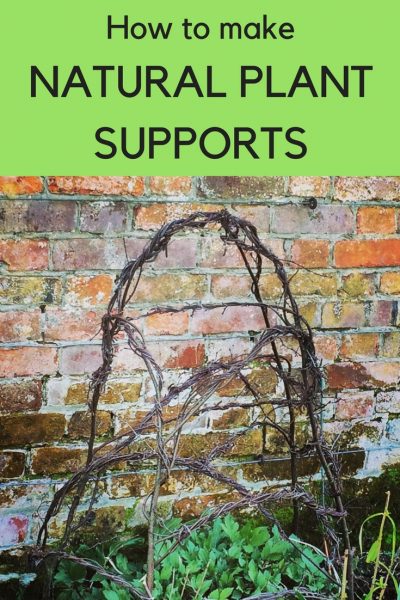
Pin for reference
The post How to make natural plant supports from clippings appeared first on The Middle-Sized Garden.
from The Middle-Sized Garden http://www.themiddlesizedgarden.co.uk/make-natural-plant-supports-clippings/
No comments:
Post a Comment